Learn how to add invoices to your accounts receivable tab right from booking! This will help you to better manage your books and stay on top of your numbers.
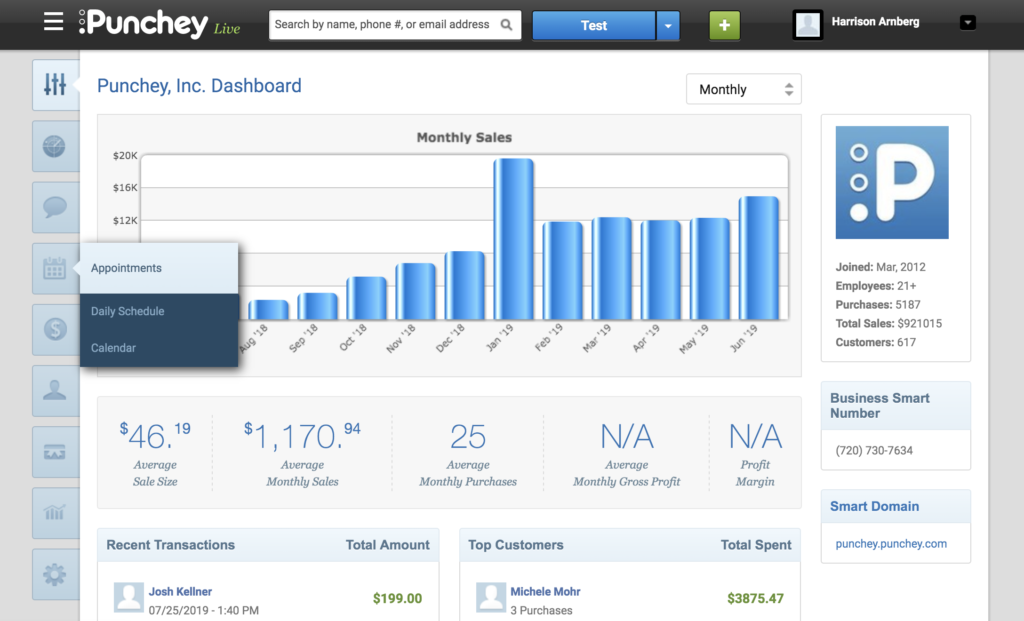
First, navigate to “Appointments” from the dashboard screen.
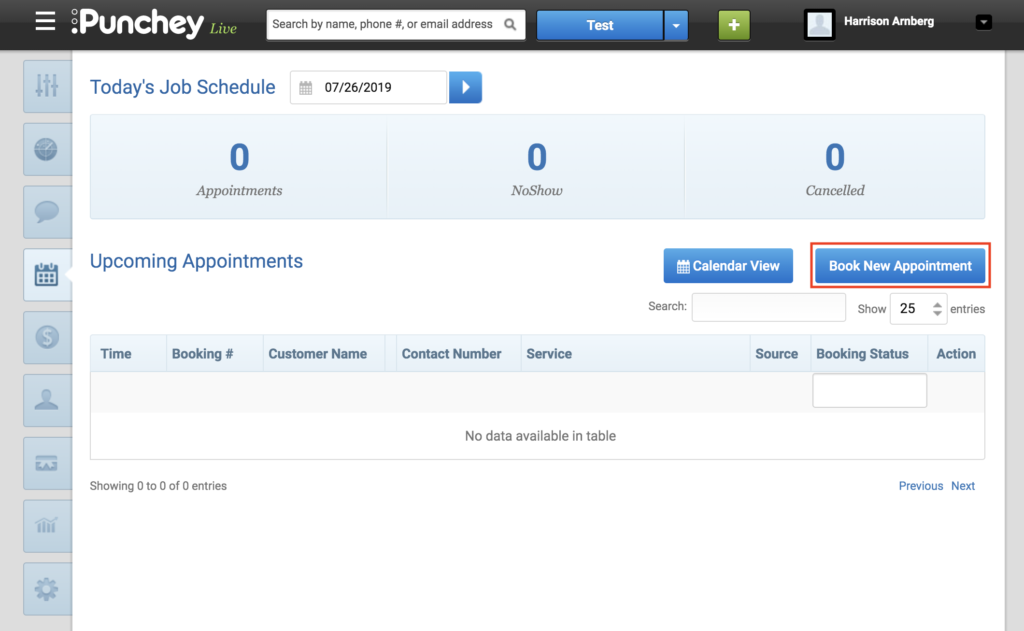
On your appointments page you can either edit an existing booking or create a new booking. To create a new booking, click “Book New Appointment.”
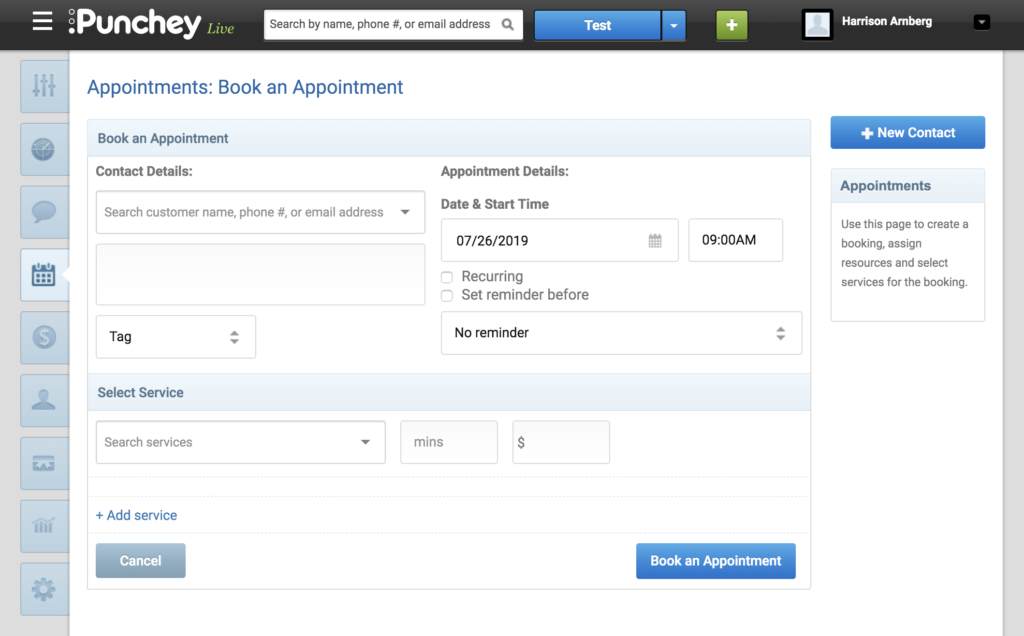
Next, enter your customer’s information and save the booking.
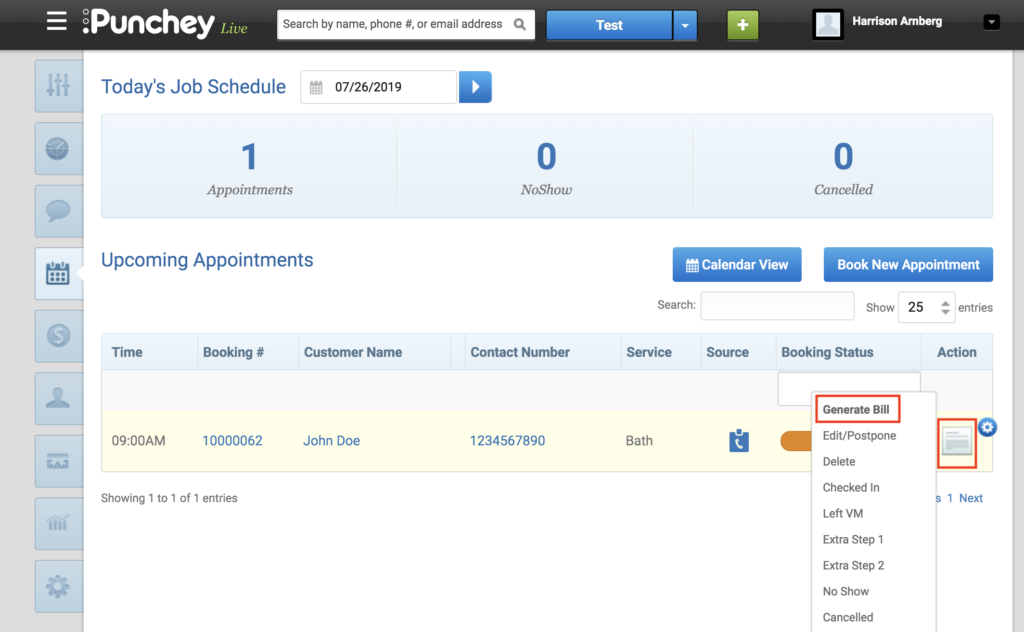
You’ll then be returned to the screen below. Here, navigate to the icon under “Action” and select “Generate Bill” from the drop down menu.
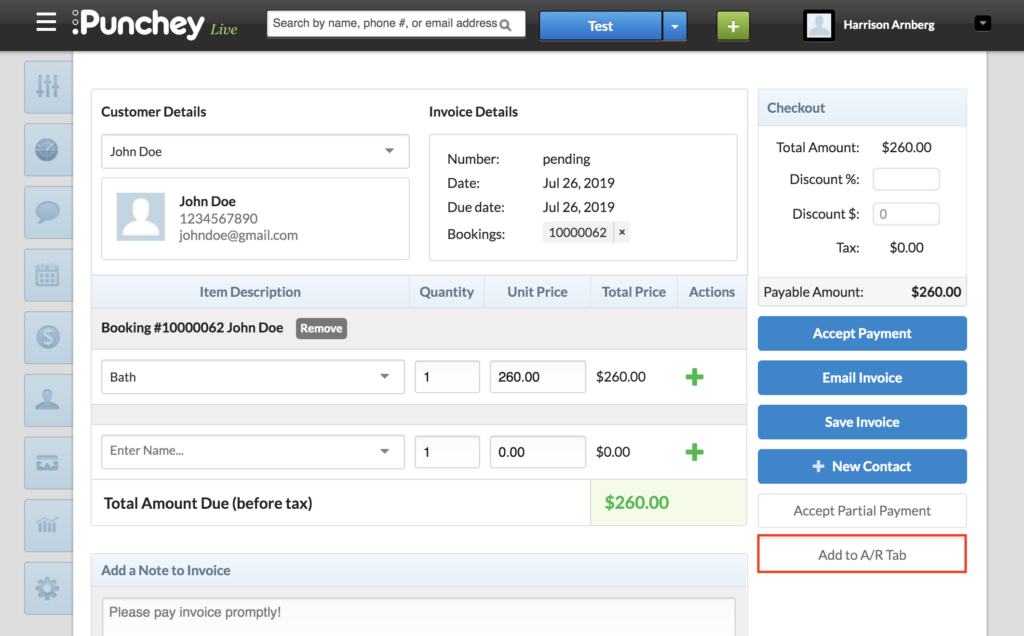
Fill out any additional information you’d like to include in the invoice, and select “Add to A/R Tab.”
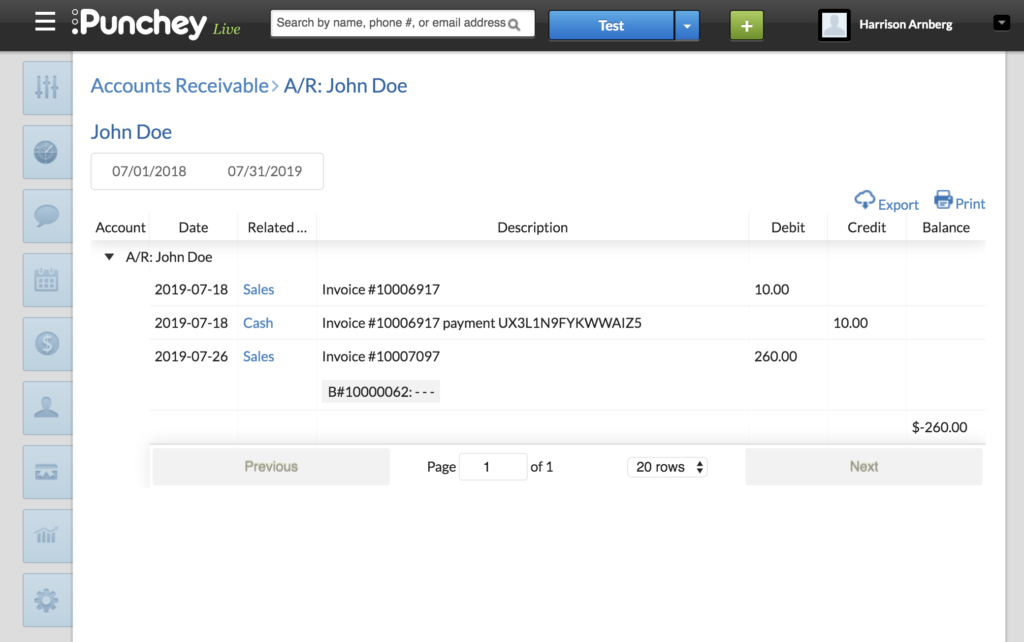
You’ll be redirected to the following screen, where you can see your accounts receivable with your customer. This includes total credit, debt, and balance.
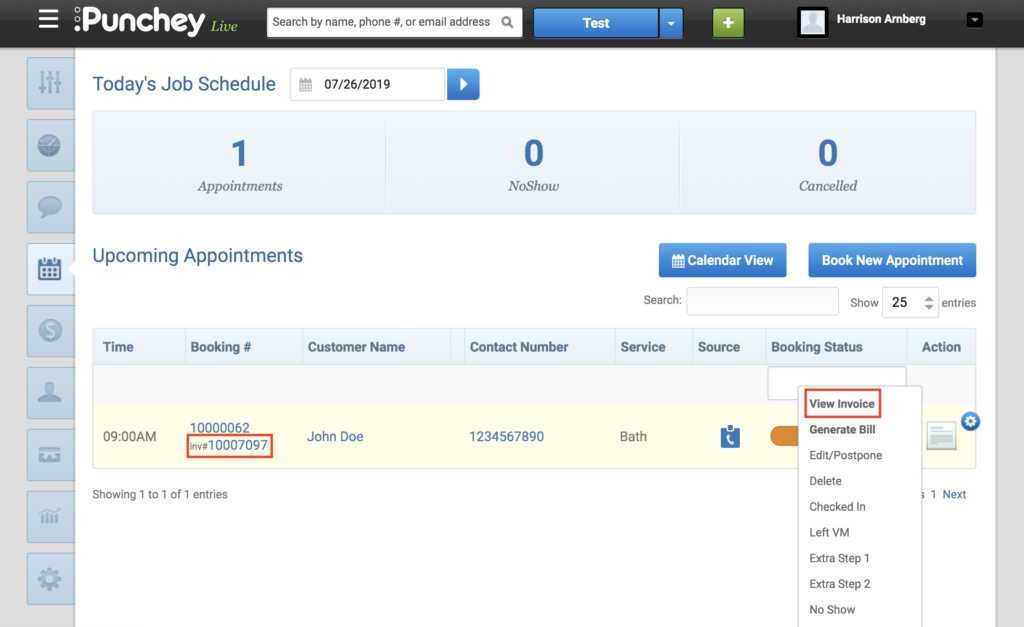
Now, let’s return to the appointments page. After you complete your service, you can return here to checkout. Either select the invoice number or hover over the icon again and select “View Invoice.”
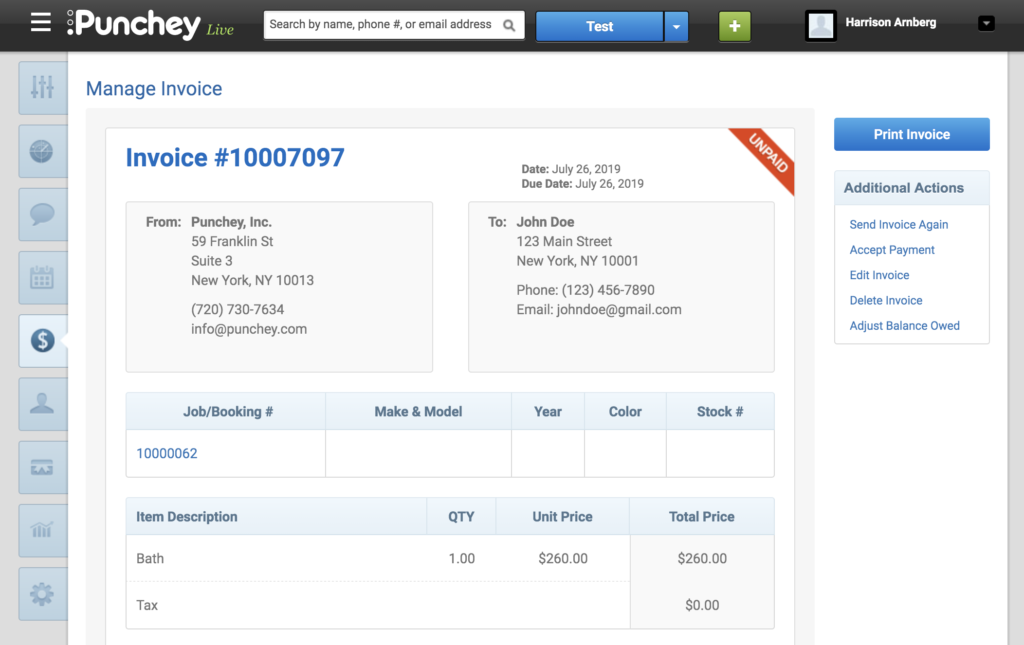
You can now checkout your customer, print the invoice, or choose any other action from the action tab.
That’s all there is to adding an invoice to your accounts receivable!
Want to learn more? Check out our YouTube Channel for helpful content and read more of our how-to guides!