Learning how to accept bulk payment is a massive aid in large business-to-business transactions!
First, ensure you have your calendar up-to-date and bookings put into the system. You can learn about how to do that here.
Now, go to your “Appointments” page from the dashboard screen.
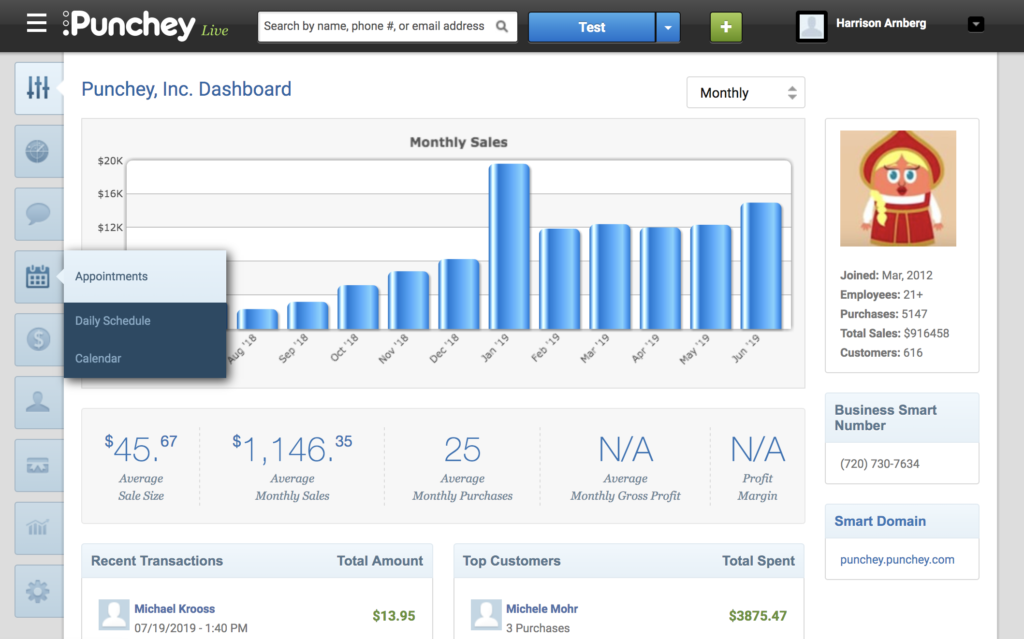
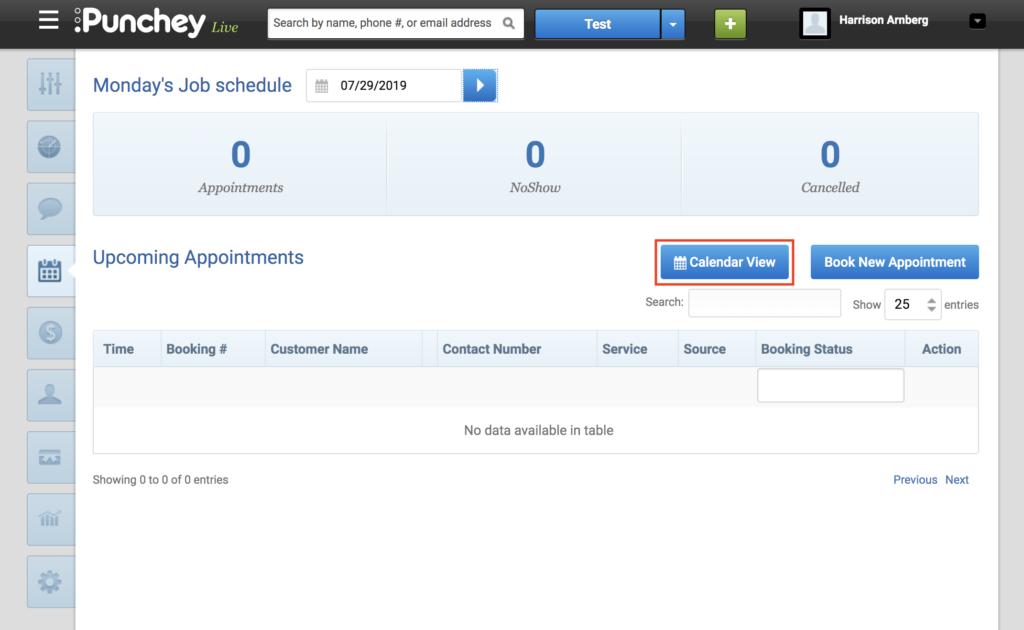
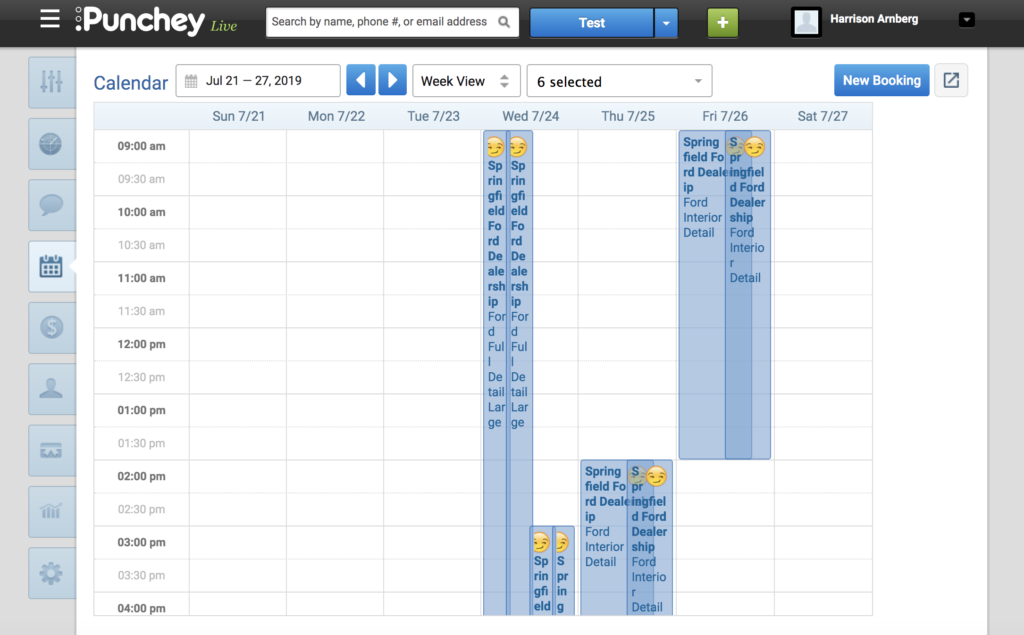
Select “Calendar View” to see your calendar. Here, you can see all of your appointments.
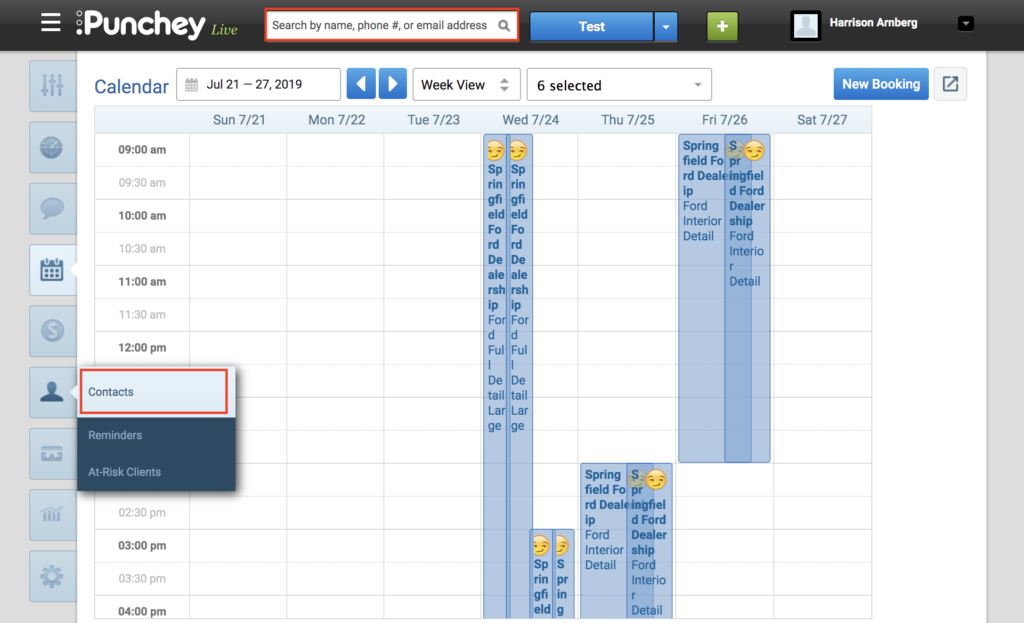
Now, go to contacts and locate the customer you are looking to invoice. This can also be done through the search box at the top of the screen.
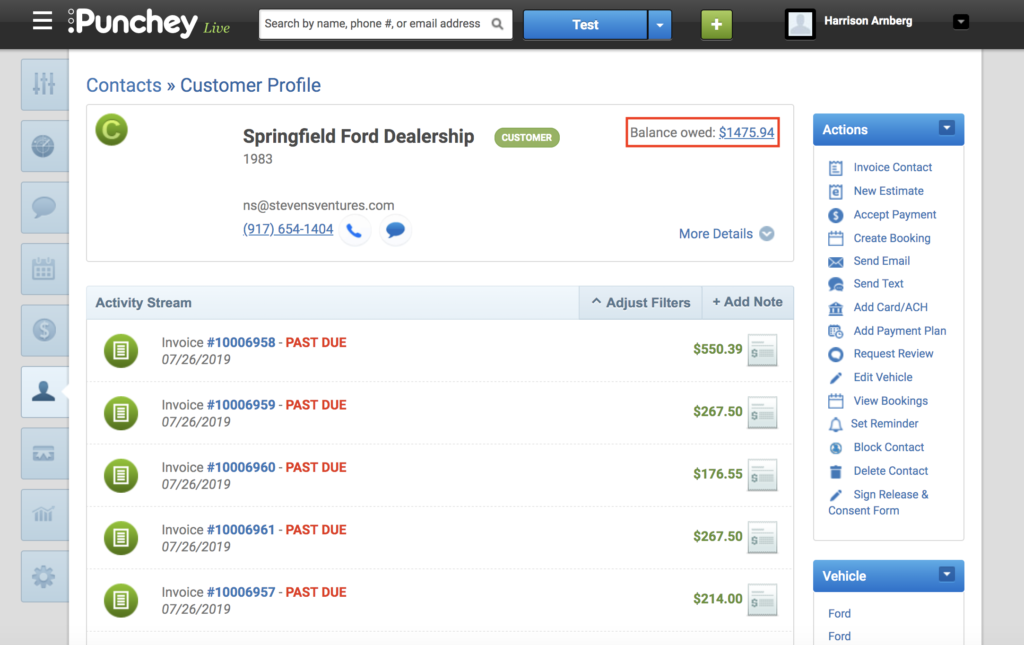
Assuming you have been sending invoices to your accounts receivable for this customer, you can select “Balance Owed” as outlined in the picture.
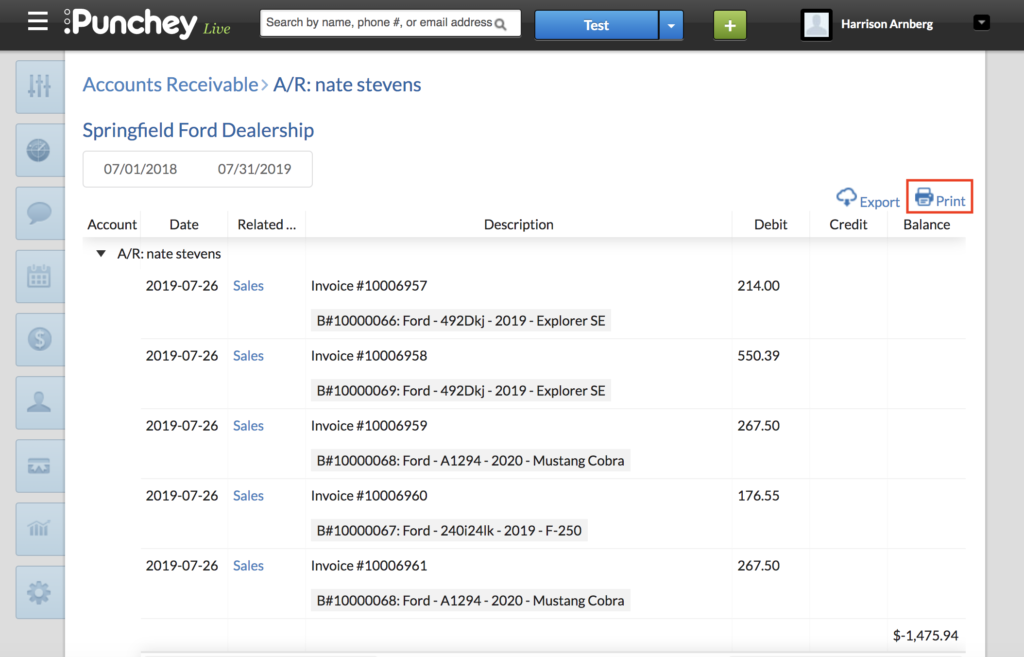
After selecting balance owed, you’ll be brought to the accounts receivable screen. Here, you can print and/or save the invoice. Remember to select “Landscape” for printing.
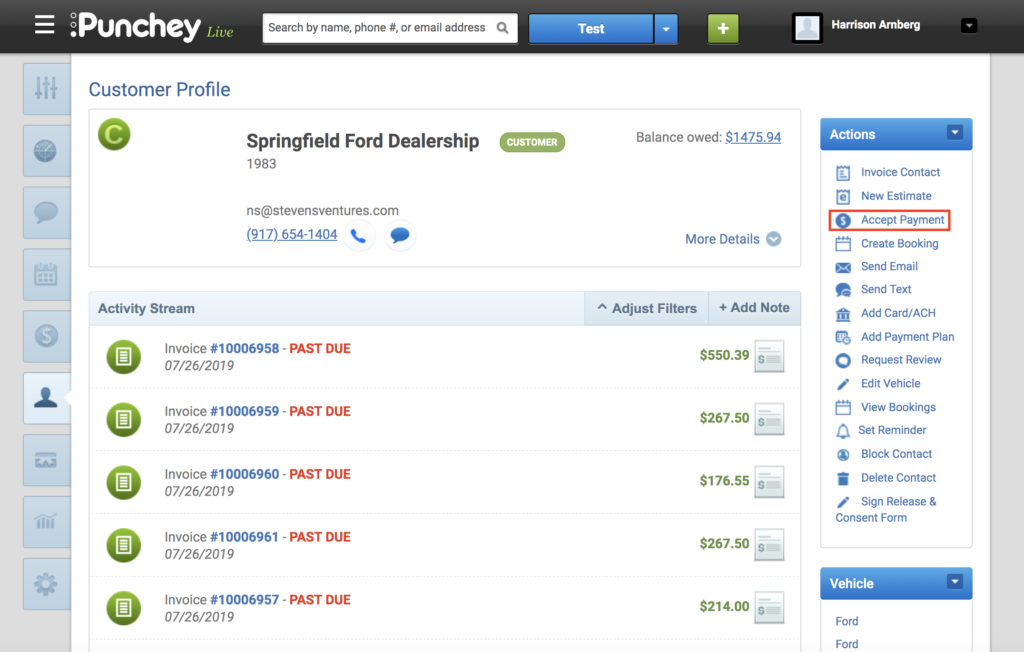
Next, go back to the contact screen. Select “Accept Payment.”
Now, you can continue to the next step or adjust the amount received. If you received less than invoiced, the transactions will fill in descending order from the top.
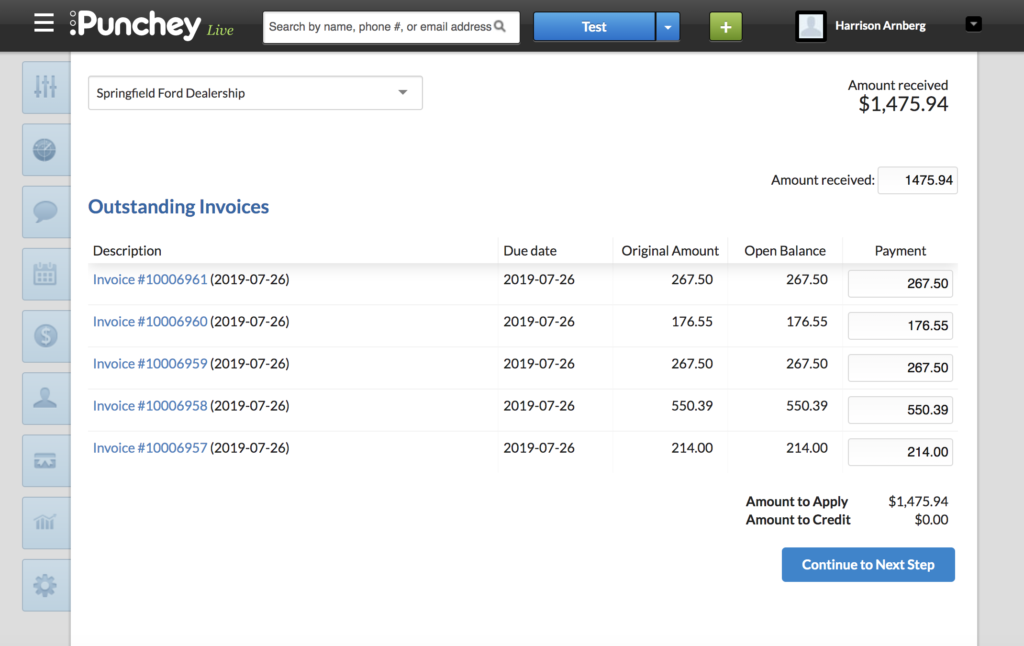
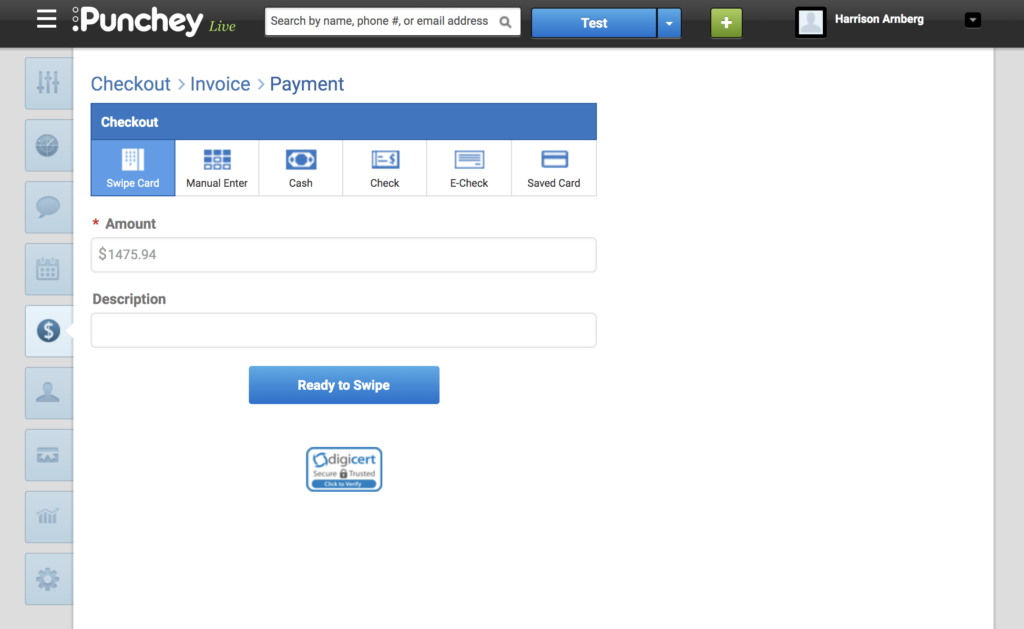
After continuing to the next step, just continue with payment as usual.
Want to learn more? Check out our YouTube Channel for helpful content and read more of our how-to guides!